Epoxy Flakes
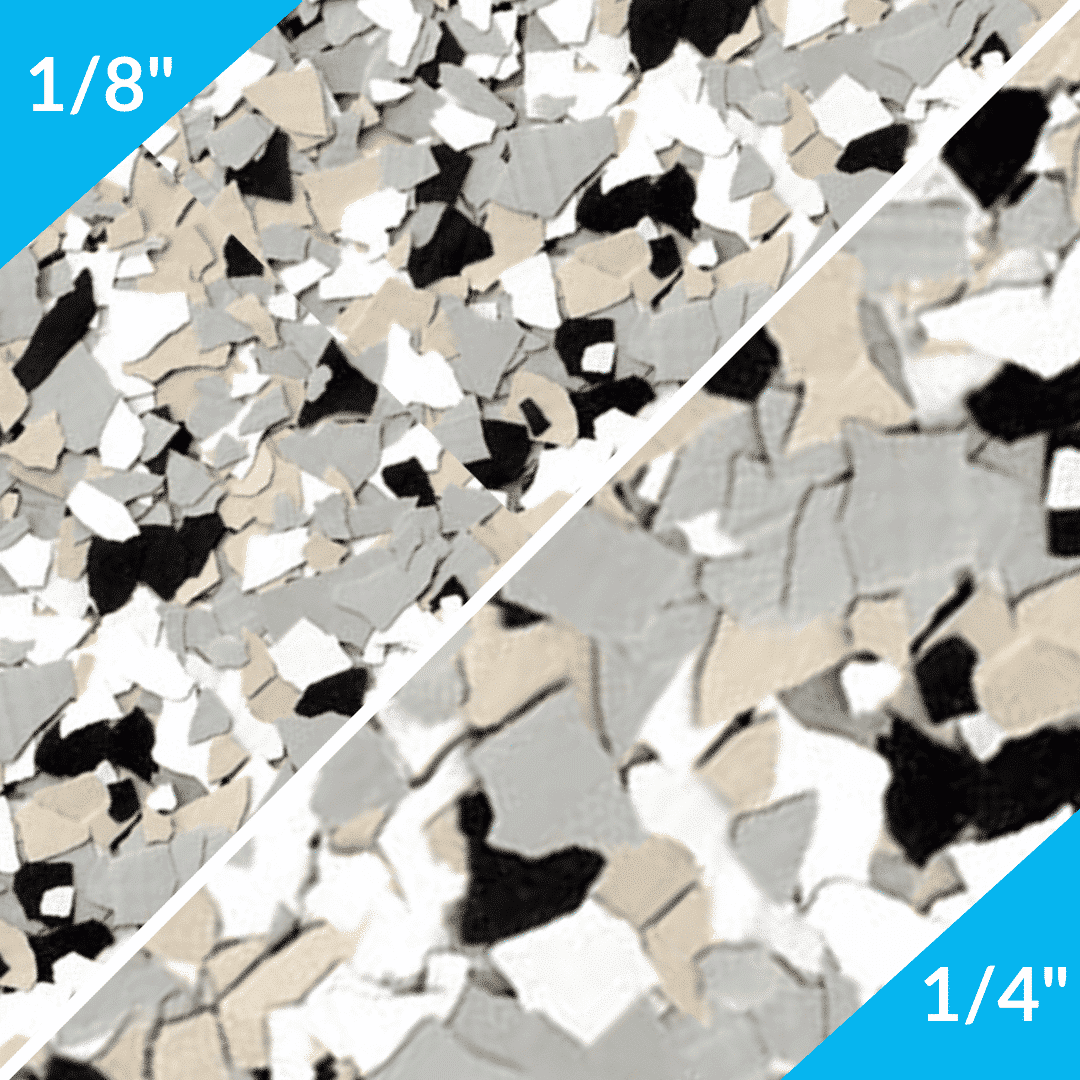
Epoxy flake floors, sometimes called epoxy chip floors, offer endless color and texture combinations, creating a seamless, stunning surface. Say goodbye to cracks and stains as these flakes used with our concrete floor coatings help hide imperfections and offer a super durable floor. Perfect for garages, workshops, and anywhere life gets busy, they clean up effortlessly with just a damp mop. Easy installation for DIYers and pros alike, choose from single products or convenient kits for the professional look you deserve. Step into a world of effortless upkeep and lasting beauty at an affordable price.
B-1002 (River Rock) 1/4"
$39.00 – $79.00
B-219 Spangle ¼” 25lb
$79.00
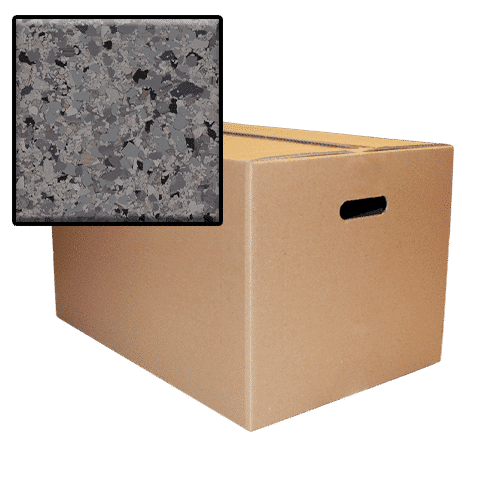
B-4101 (Blue Granite) Hybrid
$60.00 – $99.00
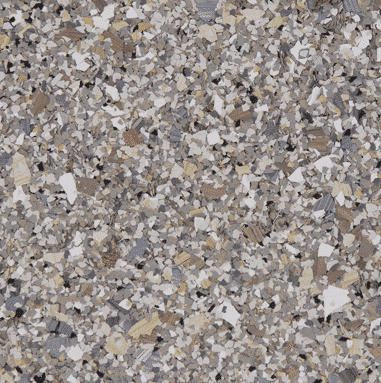

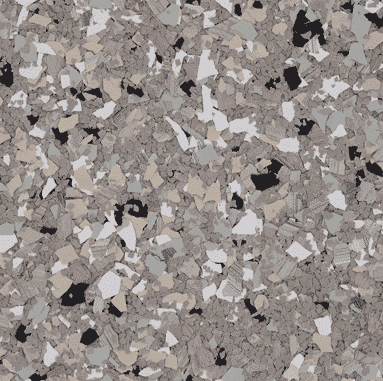
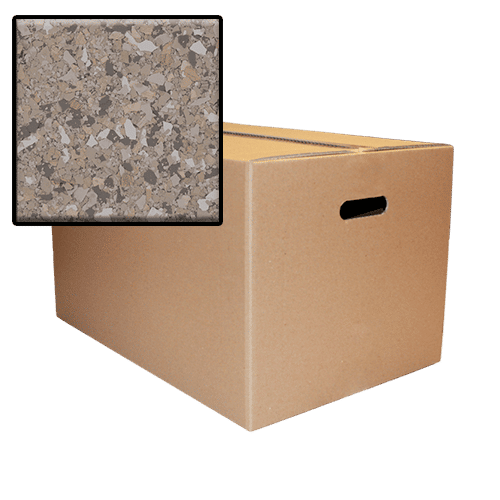
B-4103 (Travertine) Hybrid
$60.00 – $99.00
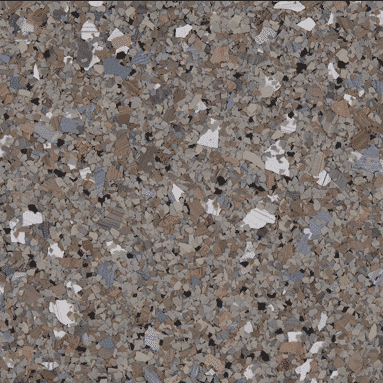
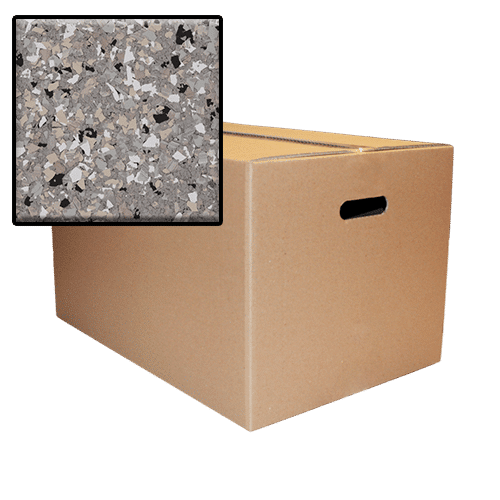
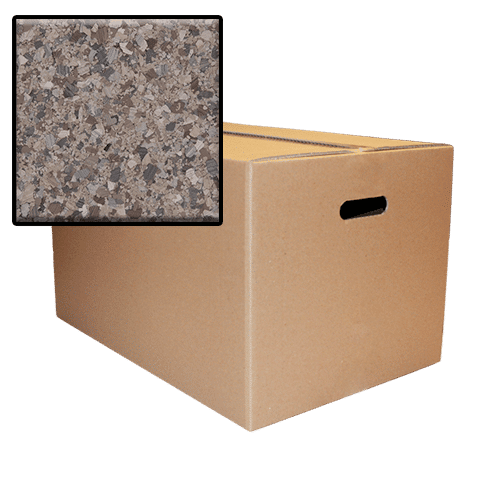
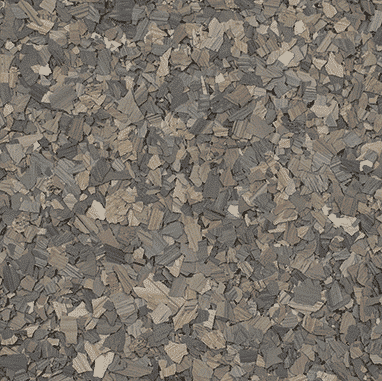
B-4109 (Mudstone) Hybrid
$60.00 – $99.00
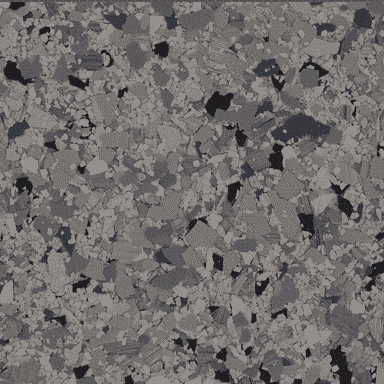
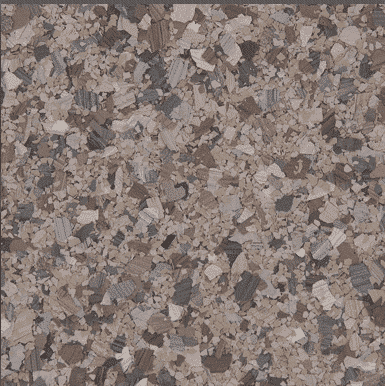
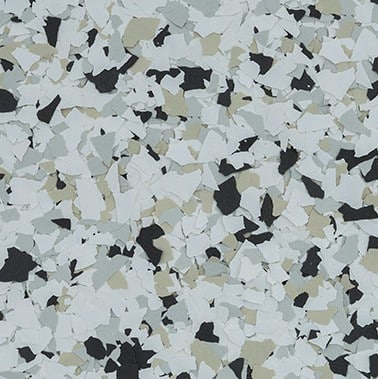
B-4214 (Denali) Terrazzo Flake
$60.00 – $99.00
B-4215 (Yosemite) Terrazzo
$60.00 – $99.00
B-4216 (Armadillo) Terrazzo
$60.00 – $99.00

B-4217 (Santa Fe) Terrazzo
$60.00 – $99.00
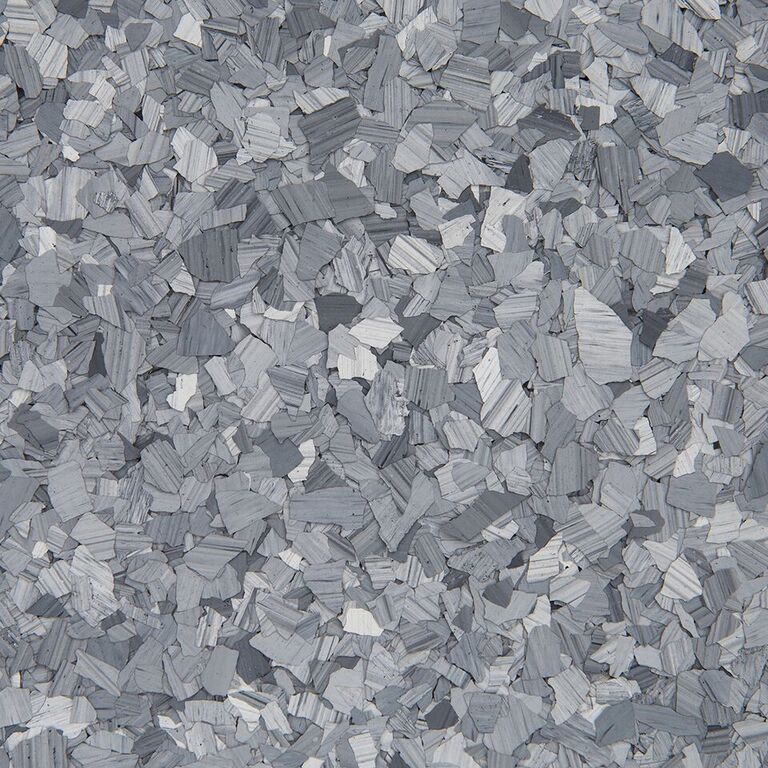
B-424 Quicksilver ¼” 25lb
$79.00

B-427 Stonehenge ¼” 25lb
$79.00

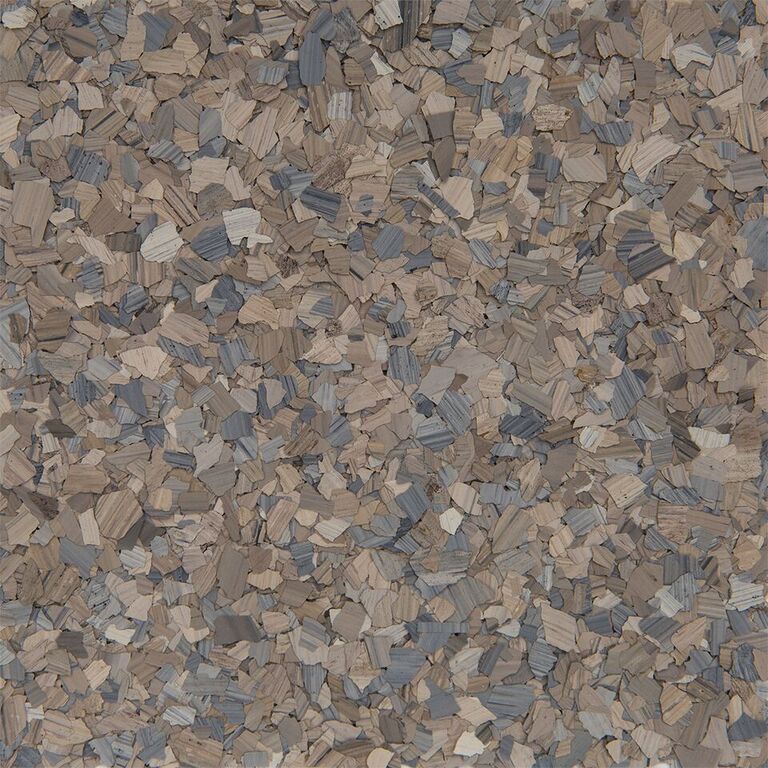
B-504 Safari ¼” 25lb
$79.00
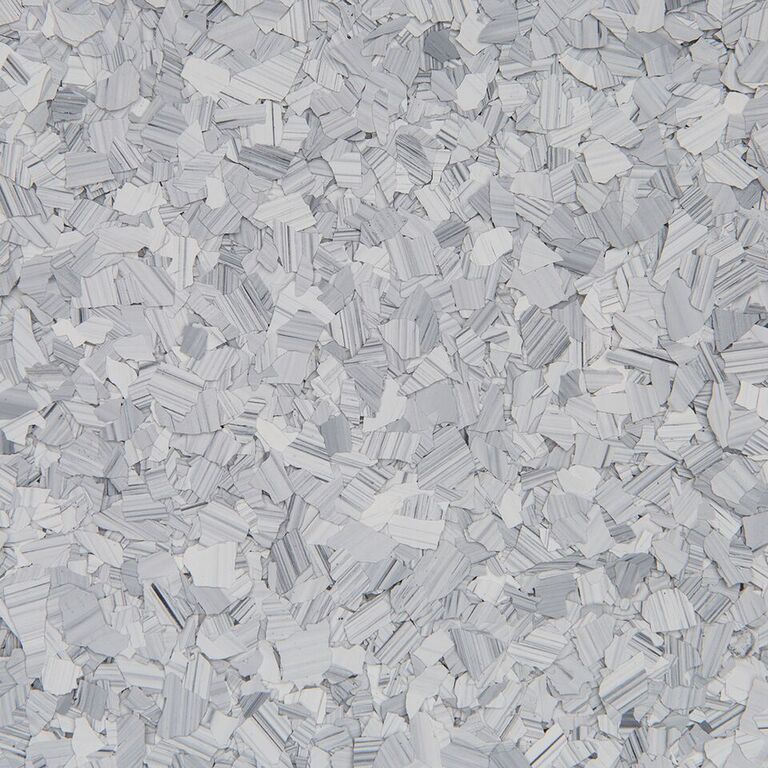
B-602 Snowfall ¼” 25lb
$79.00
B-616 (Wombat) 1/4"
$39.00 – $79.00
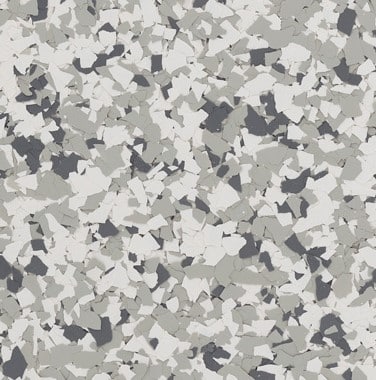
B-703 (Fog) 1/4"
$39.00 – $79.00
B-706 Madras ¼” 25lb
$39.00 – $79.00
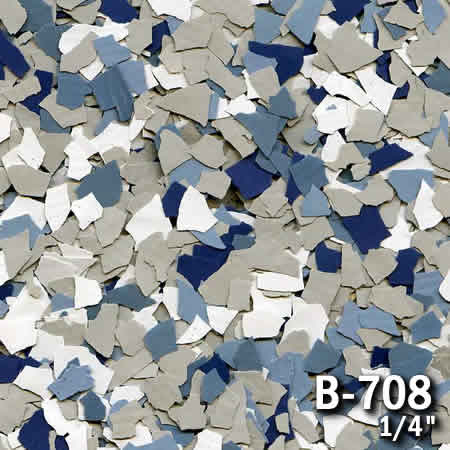
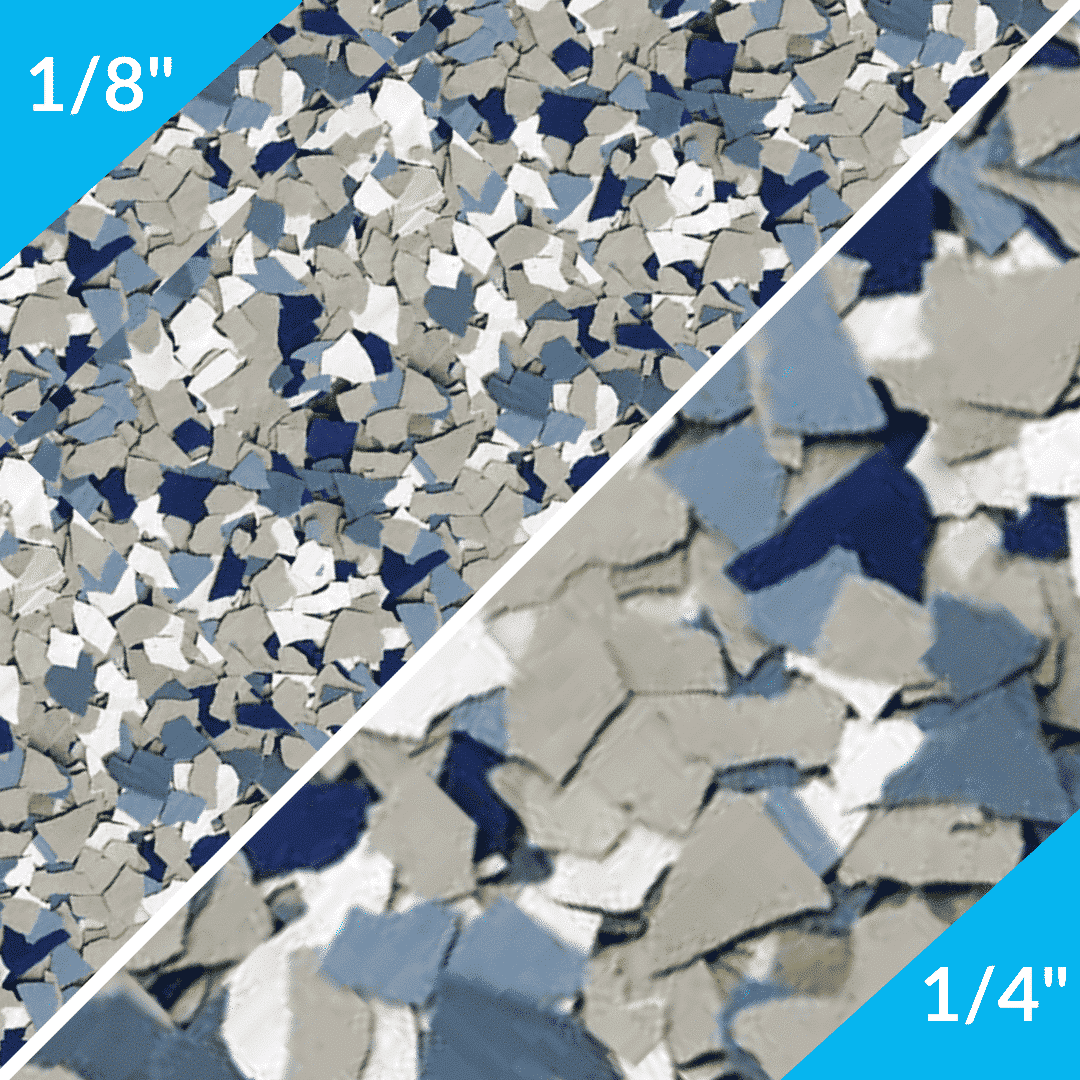
B-708 (Stonewash)
$39.00 – $89.00
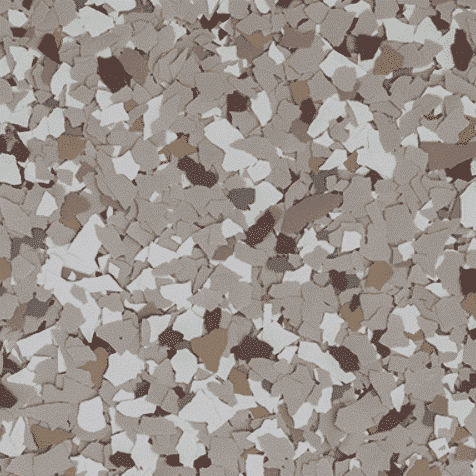
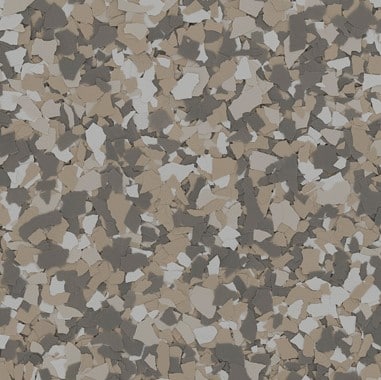
B-716 (Creekbed)
$39.00 – $89.00
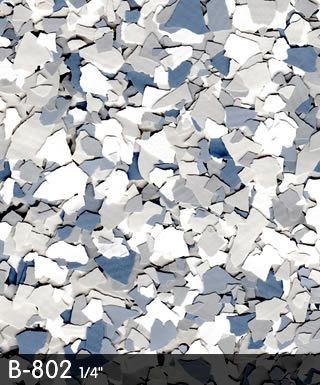
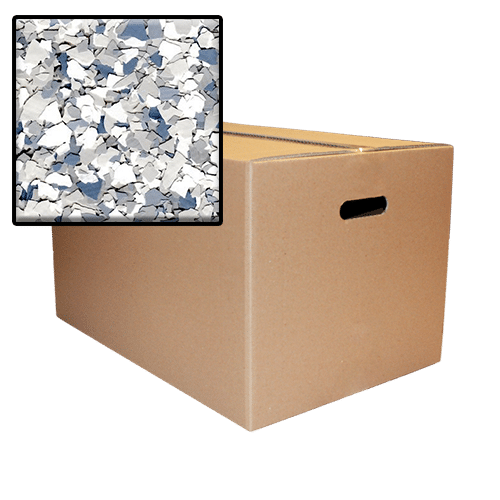
B-802 (Sea Mist) 1/4"
$39.00 – $79.00
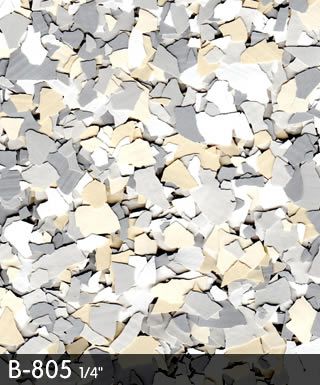

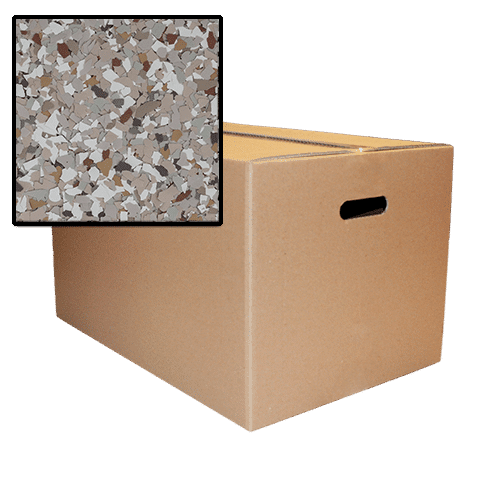
B-805 (Welsch) 1/4"
$39.00 – $79.00
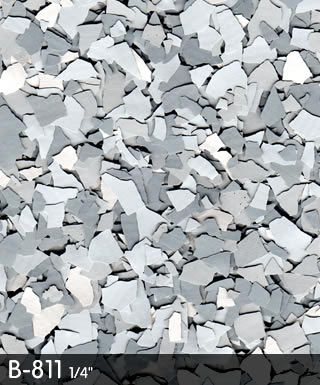
B-811 (Koala) 1/4"
$39.00 – $79.00
B-947 (Silver Stream)
$39.00 – $89.00
F-9202 (Carbon)
$45.00 – $89.00
F-9203 (Feldspar) 1/4"
$45.00 – $89.00

F-9303 (Pumice) 1/4"
$45.00 – $89.00
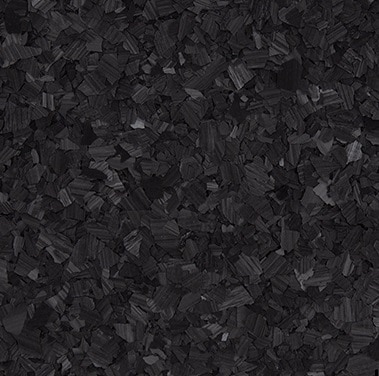
F-9304 (Obsidian) 1/4"
$45.00 – $89.00
F-9307 (Schist) 1/4"
$45.00 – $89.00
F-9309 (Basalt) 1/4"
$45.00 – $89.00
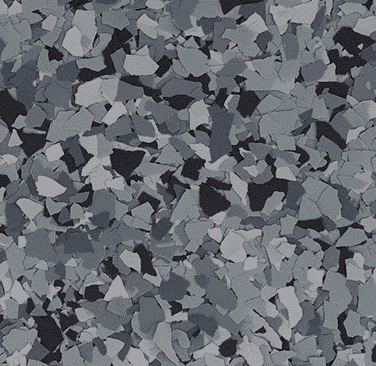
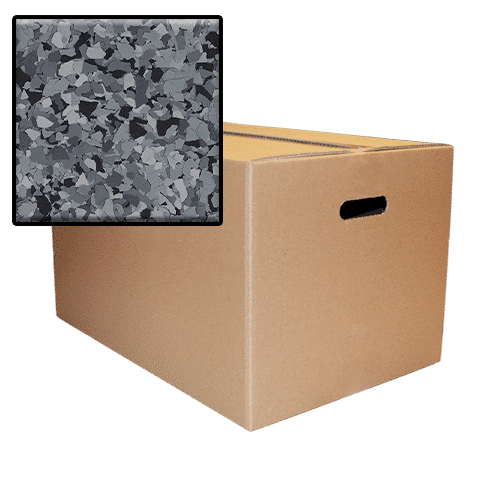
F-9311 (Dolerite) 1/4"
$45.00 – $89.00
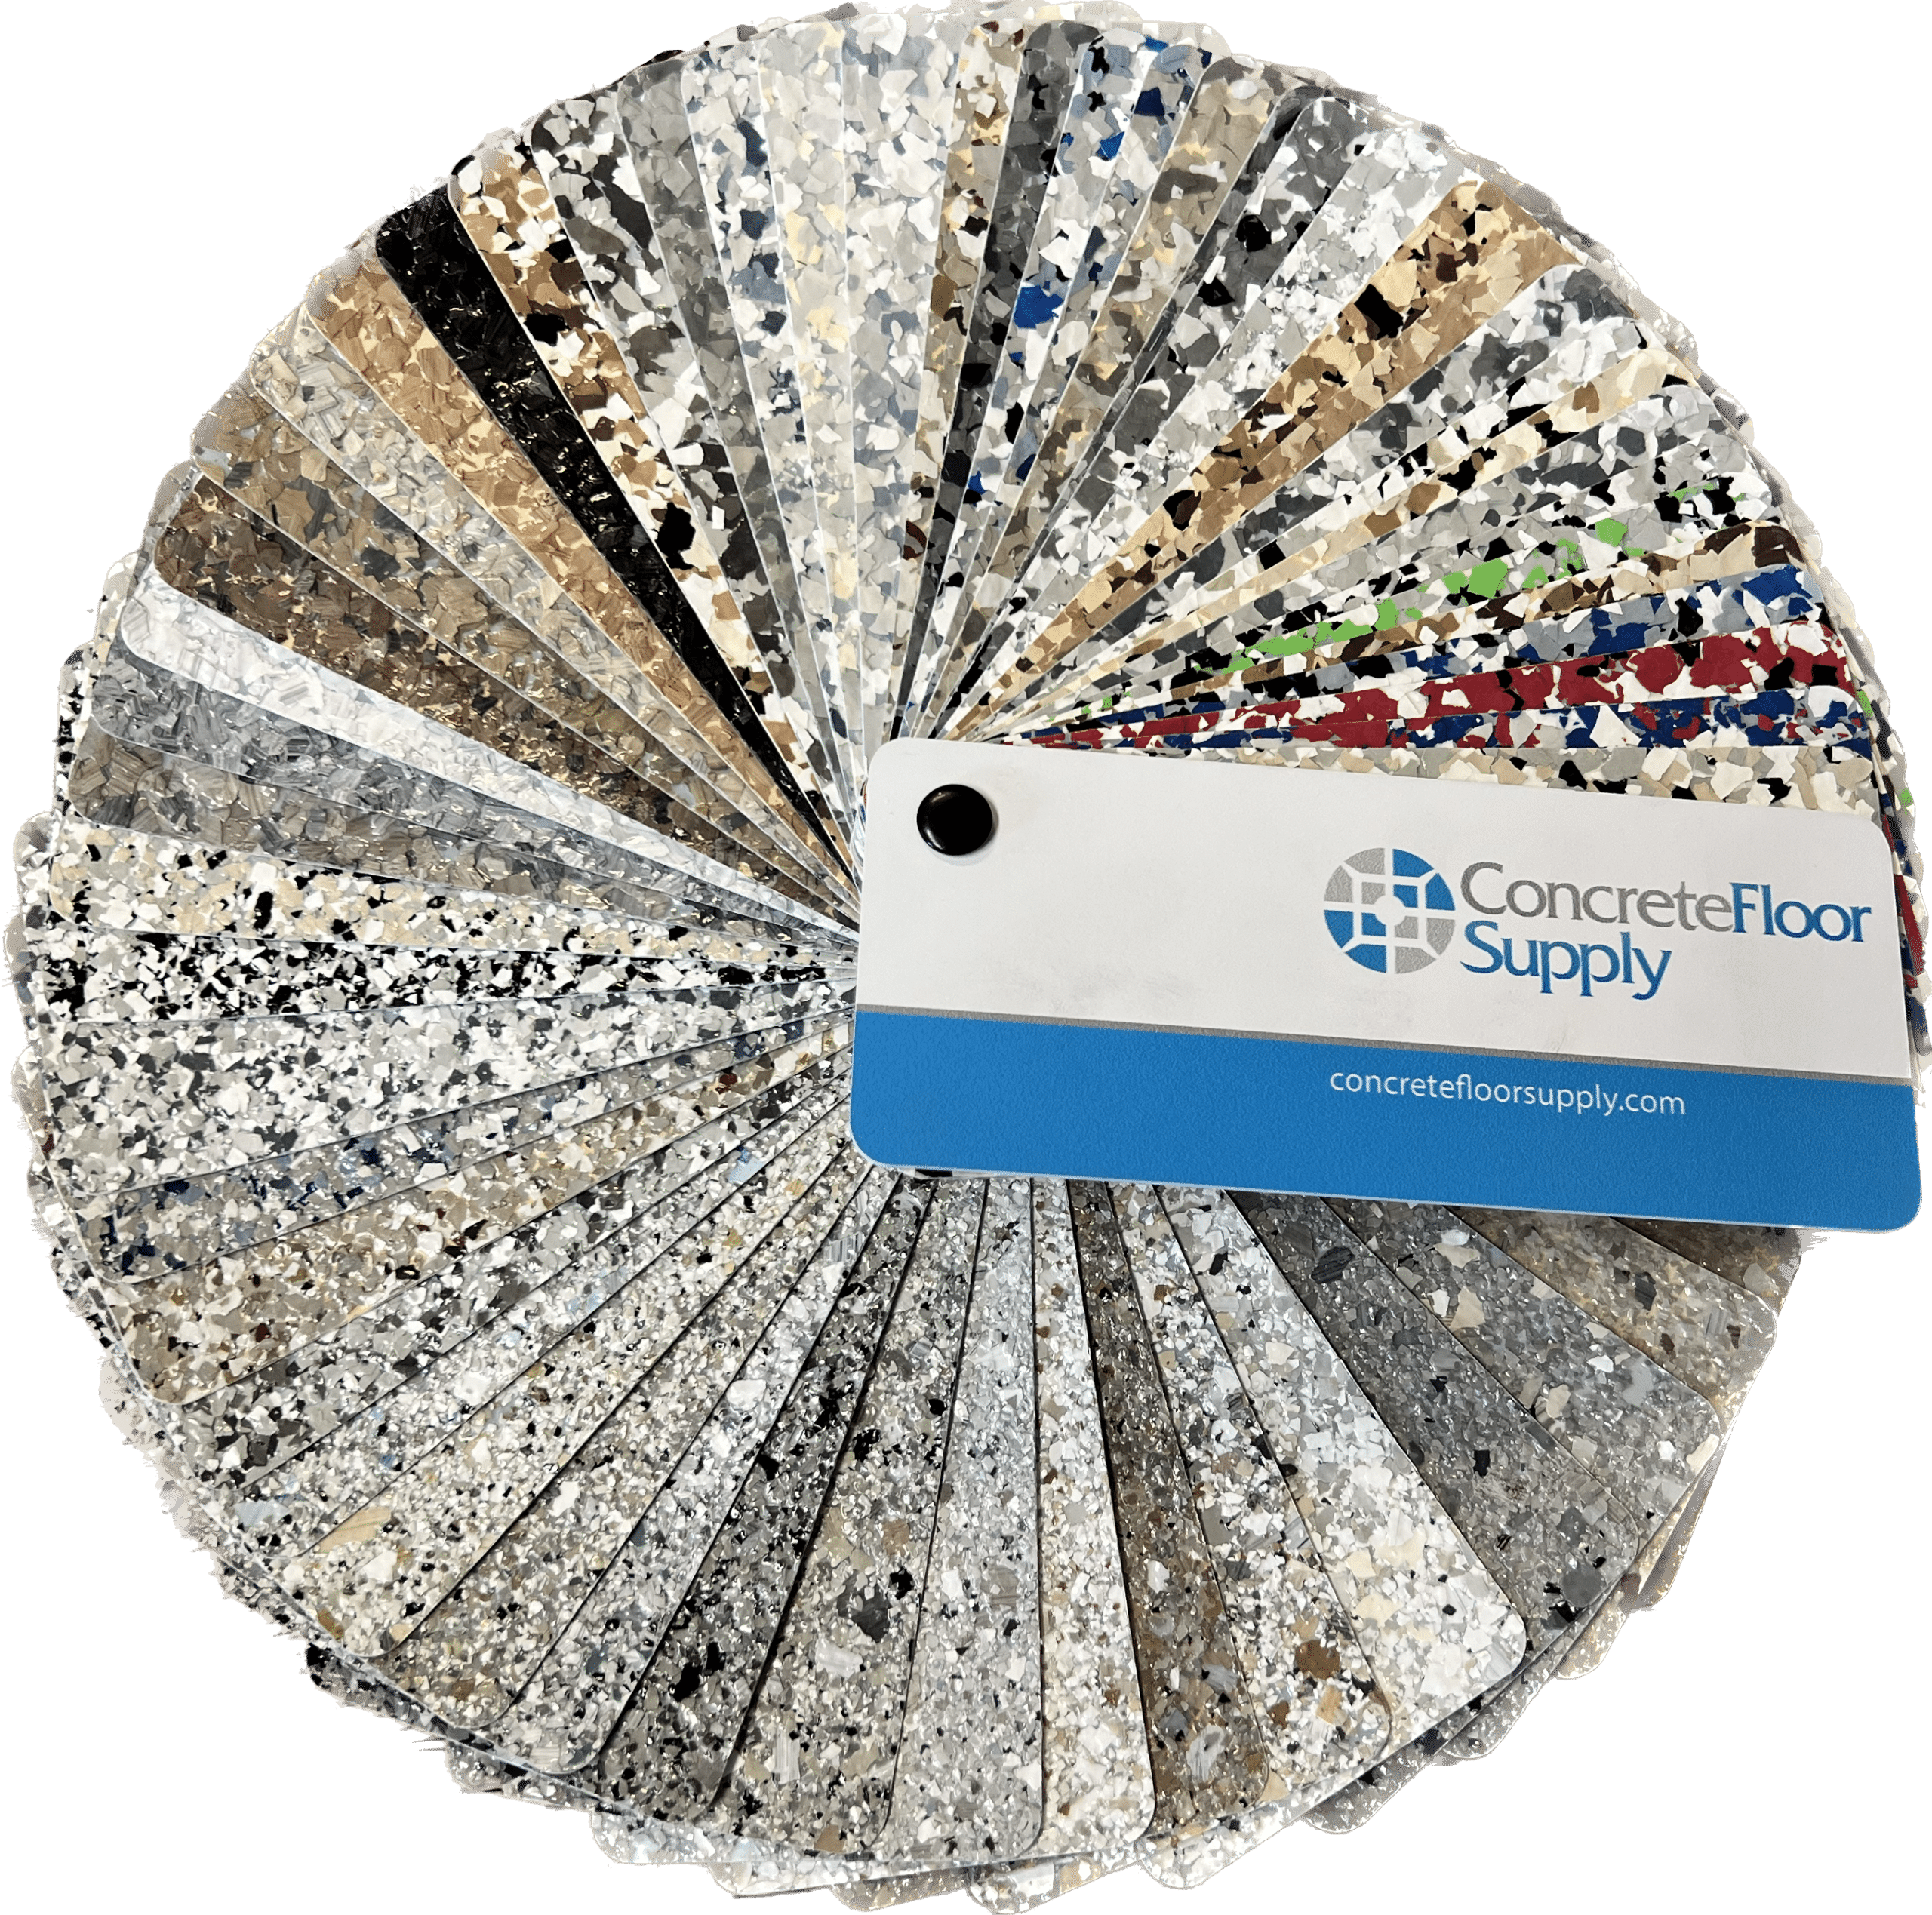
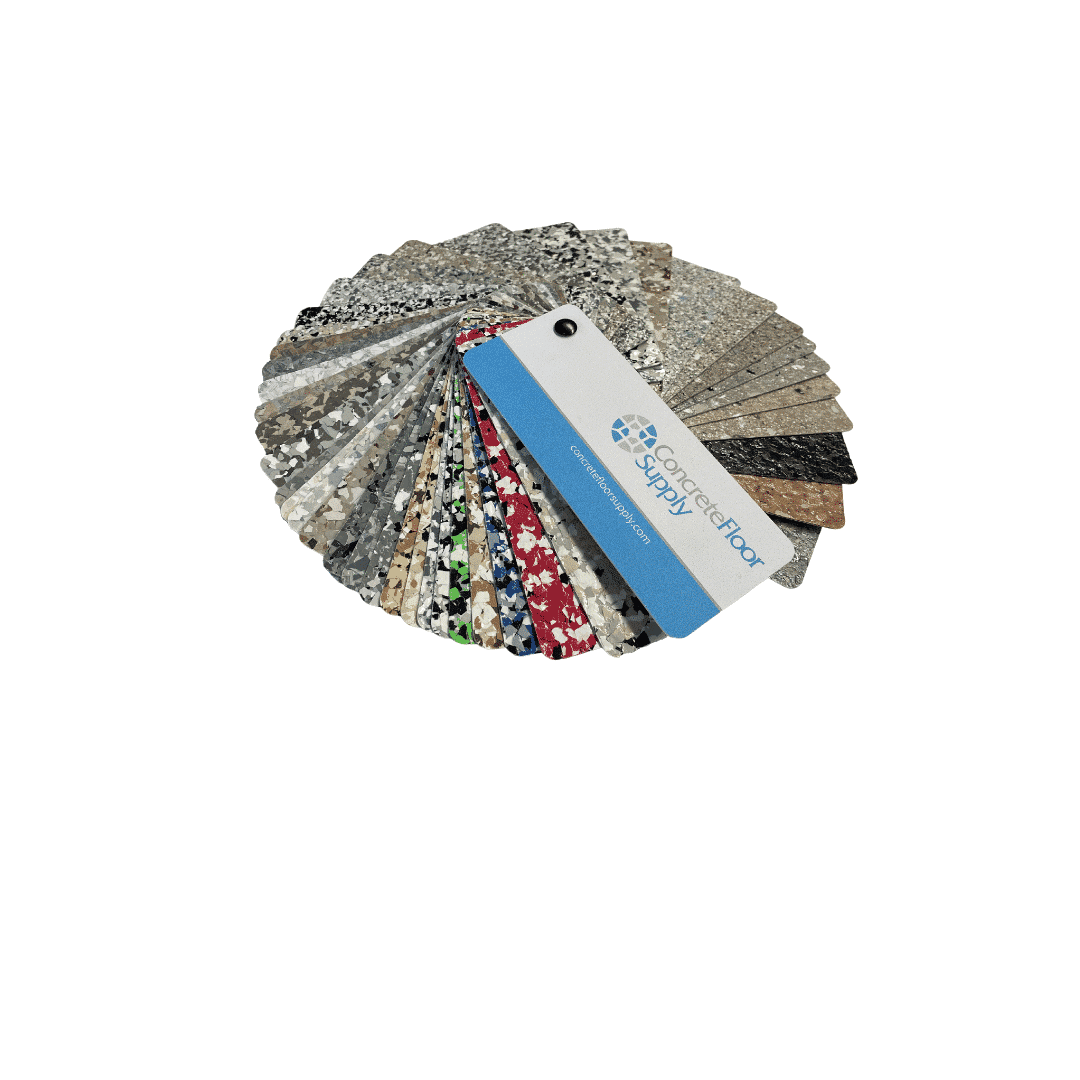
Flake Fan Deck
$60.00
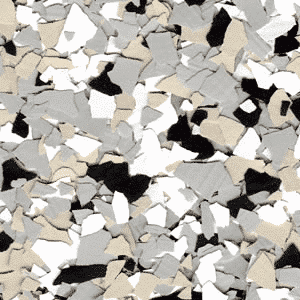
B-127 (Cabin Fever)
$39.00 – $89.00

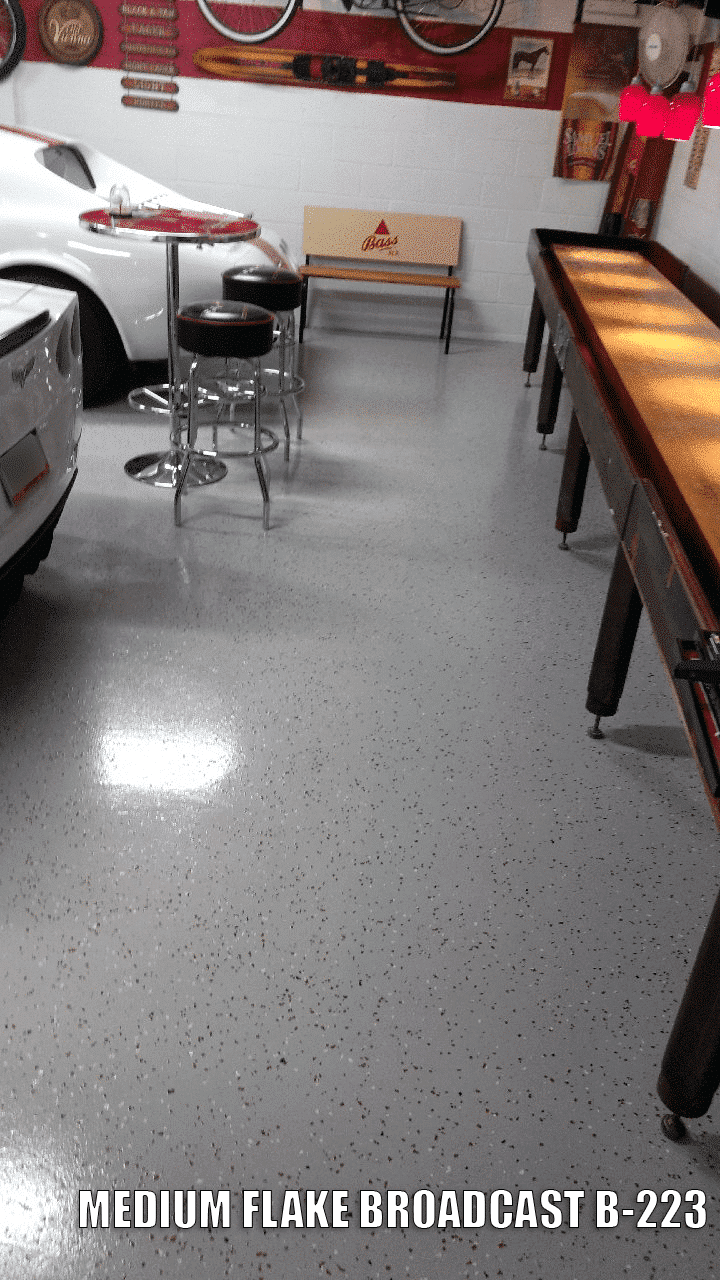
B-223 (Bucky) 1/4"
$39.00 – $79.00
B-310 (Orbit) 1/4"
$39.00 – $79.00
B-325 (Terrier) 1/4"
$39.00 – $79.00
B-331 (Artic Cat) 1/4"
$39.00 – $79.00
B-411 (Domino)
$39.00 – $89.00
B-414 (Gravel)
$39.00 – $89.00
B-421 (Shoreline) 1/4"
$39.00 – $79.00
B-517 (Outback) 1/4"
$39.00 – $79.00
B-715 (Nightfall) 1/4"
$39.00 – $79.00