3
Jul
Step by Step Instructions on Epoxy Flooring Installation for a Wet Look
Dreaming of a durable, high-gloss, solid-colored concrete floor?
Concrete Floor Supply floor epoxy can transform your concrete surfaces with a durable, glass-like finish. This guide will walk you through the process of installing this 100% solids epoxy system, creating a beautiful, solid color, "wet look" floor in your home or garage.Benefits of a Clear Epoxy Floor Coating:
- Durable and Long-Lasting: Epoxy floor coatings are incredibly tough, resisting scratches, stains, and chemicals.
- High-Gloss Finish: The clear epoxy creates a reflective, water-like surface that brightens your space.
- Easy to Clean: The smooth, non-porous surface makes cleaning up spills and dirt a breeze.
Before You Begin:
- Project Planning: Measure your concrete surface area to determine the amount of epoxy needed. Consider renting a diamond grinder for optimal surface preparation (Concrete Floor Supply offers rentals in the Kansas City area).
- Safety First: Always wear proper safety gear during installation, including gloves, eye protection, and a respirator. Ensure good ventilation in your work area.
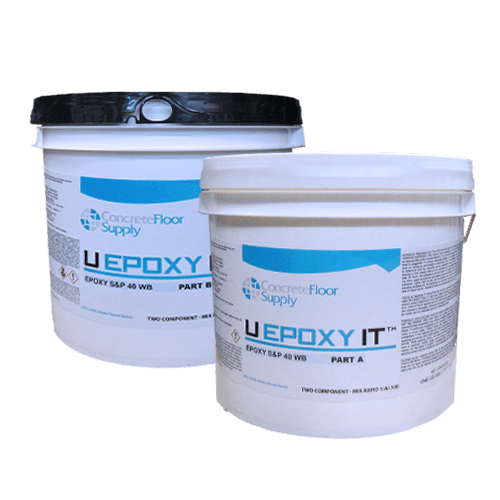
Materials for Epoxy Flooring Installation:
- Concrete Floor Supply Clear Epoxy Coat System (includes Epoxy Flow 100 Regular or Slow Set epoxy)
- Diamond grinder . Grinders can be typically rented from your local rental store.
- Safety gear (gloves, eye protection, respirator)
- Mixing containers and paddle mixer
- Squeegee or roller for application
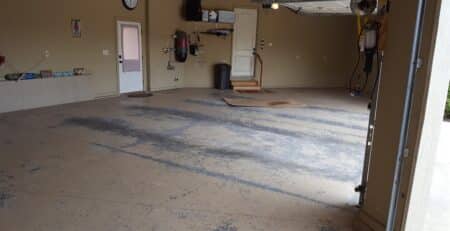
Step 1: Surface Preparation:
Profiling:
Diamond grinding is the recommended method for surface preparation. This process creates a rough texture that improves adhesion for the epoxy coating also called Concrete Surface Profile or “CSP”. You want the product to ‘bite’ so you are going for a light broom-like texture. Dry grinding with a vacuum attached is preferred. When done vac up the duct and leaf blow the surface clean. DO NOT USE WATER TO CLEAN.-
- Concrete must be fully cured for a minimum of 28 days
Step 2: Product Mixing:
Before you begin ensure substrate, air, and material temperatures must be no less than 50°F and not exceed 80°F. (You can go beyond 80 degrees…it just speeds up the coating.) Pour a full pre-packaged kit of 2 parts of Part A to 1 part of Part B together and mix well with slow-speed mixing equipment such as a jiffy mixer until the material is thoroughly mixed and homogeneous. NOTE: If you want a solid color floor add the desired pigment color and continue to mix until the color is uniform. (One unit of our epoxy pigment will pigment one 3-gallon kit of epoxy). Do this for both coats. If you don’t want color leave the product clear. It is suggested to mix in a new, separate bucket from the original package. Typically 2-3 minutes. Avoid whipping air into the coating. POUR ONTO THE CONCRETE IMMEDIATELY AFTER MIXING. DO NOT LEAVE THE BUCKET UPSIDE DOWN ON THE FLOOR. Epoxy will not kick over as quickly when it is on the floor.Step 3: Epoxy Application:
Base Coat:
Apply a coat of Epoxy Flow 100 notched squeegee and then back roll evenly to maintain the desired thickness within the usable pot lifetime frame. Refer to the product data sheet for recommended mixing ratios and application techniques, pot life, and recoat window.-
- Pour onto the concrete immediately after mixing. This product will set and become hot if allowed to dwell in the bucket.
- Spread at around 150 sqft per gallon with a notched squeegee and back roll with an 18”, ⅜” nap roller cover.
- It is recommended to work in sections usually using control joints as dividers to ensure proper application results. Spike shoes are recommended to walk through the product while applying.
- If any outgassing appears spray with a solvent such as xylene before the product sets up.
Second Color Coat:
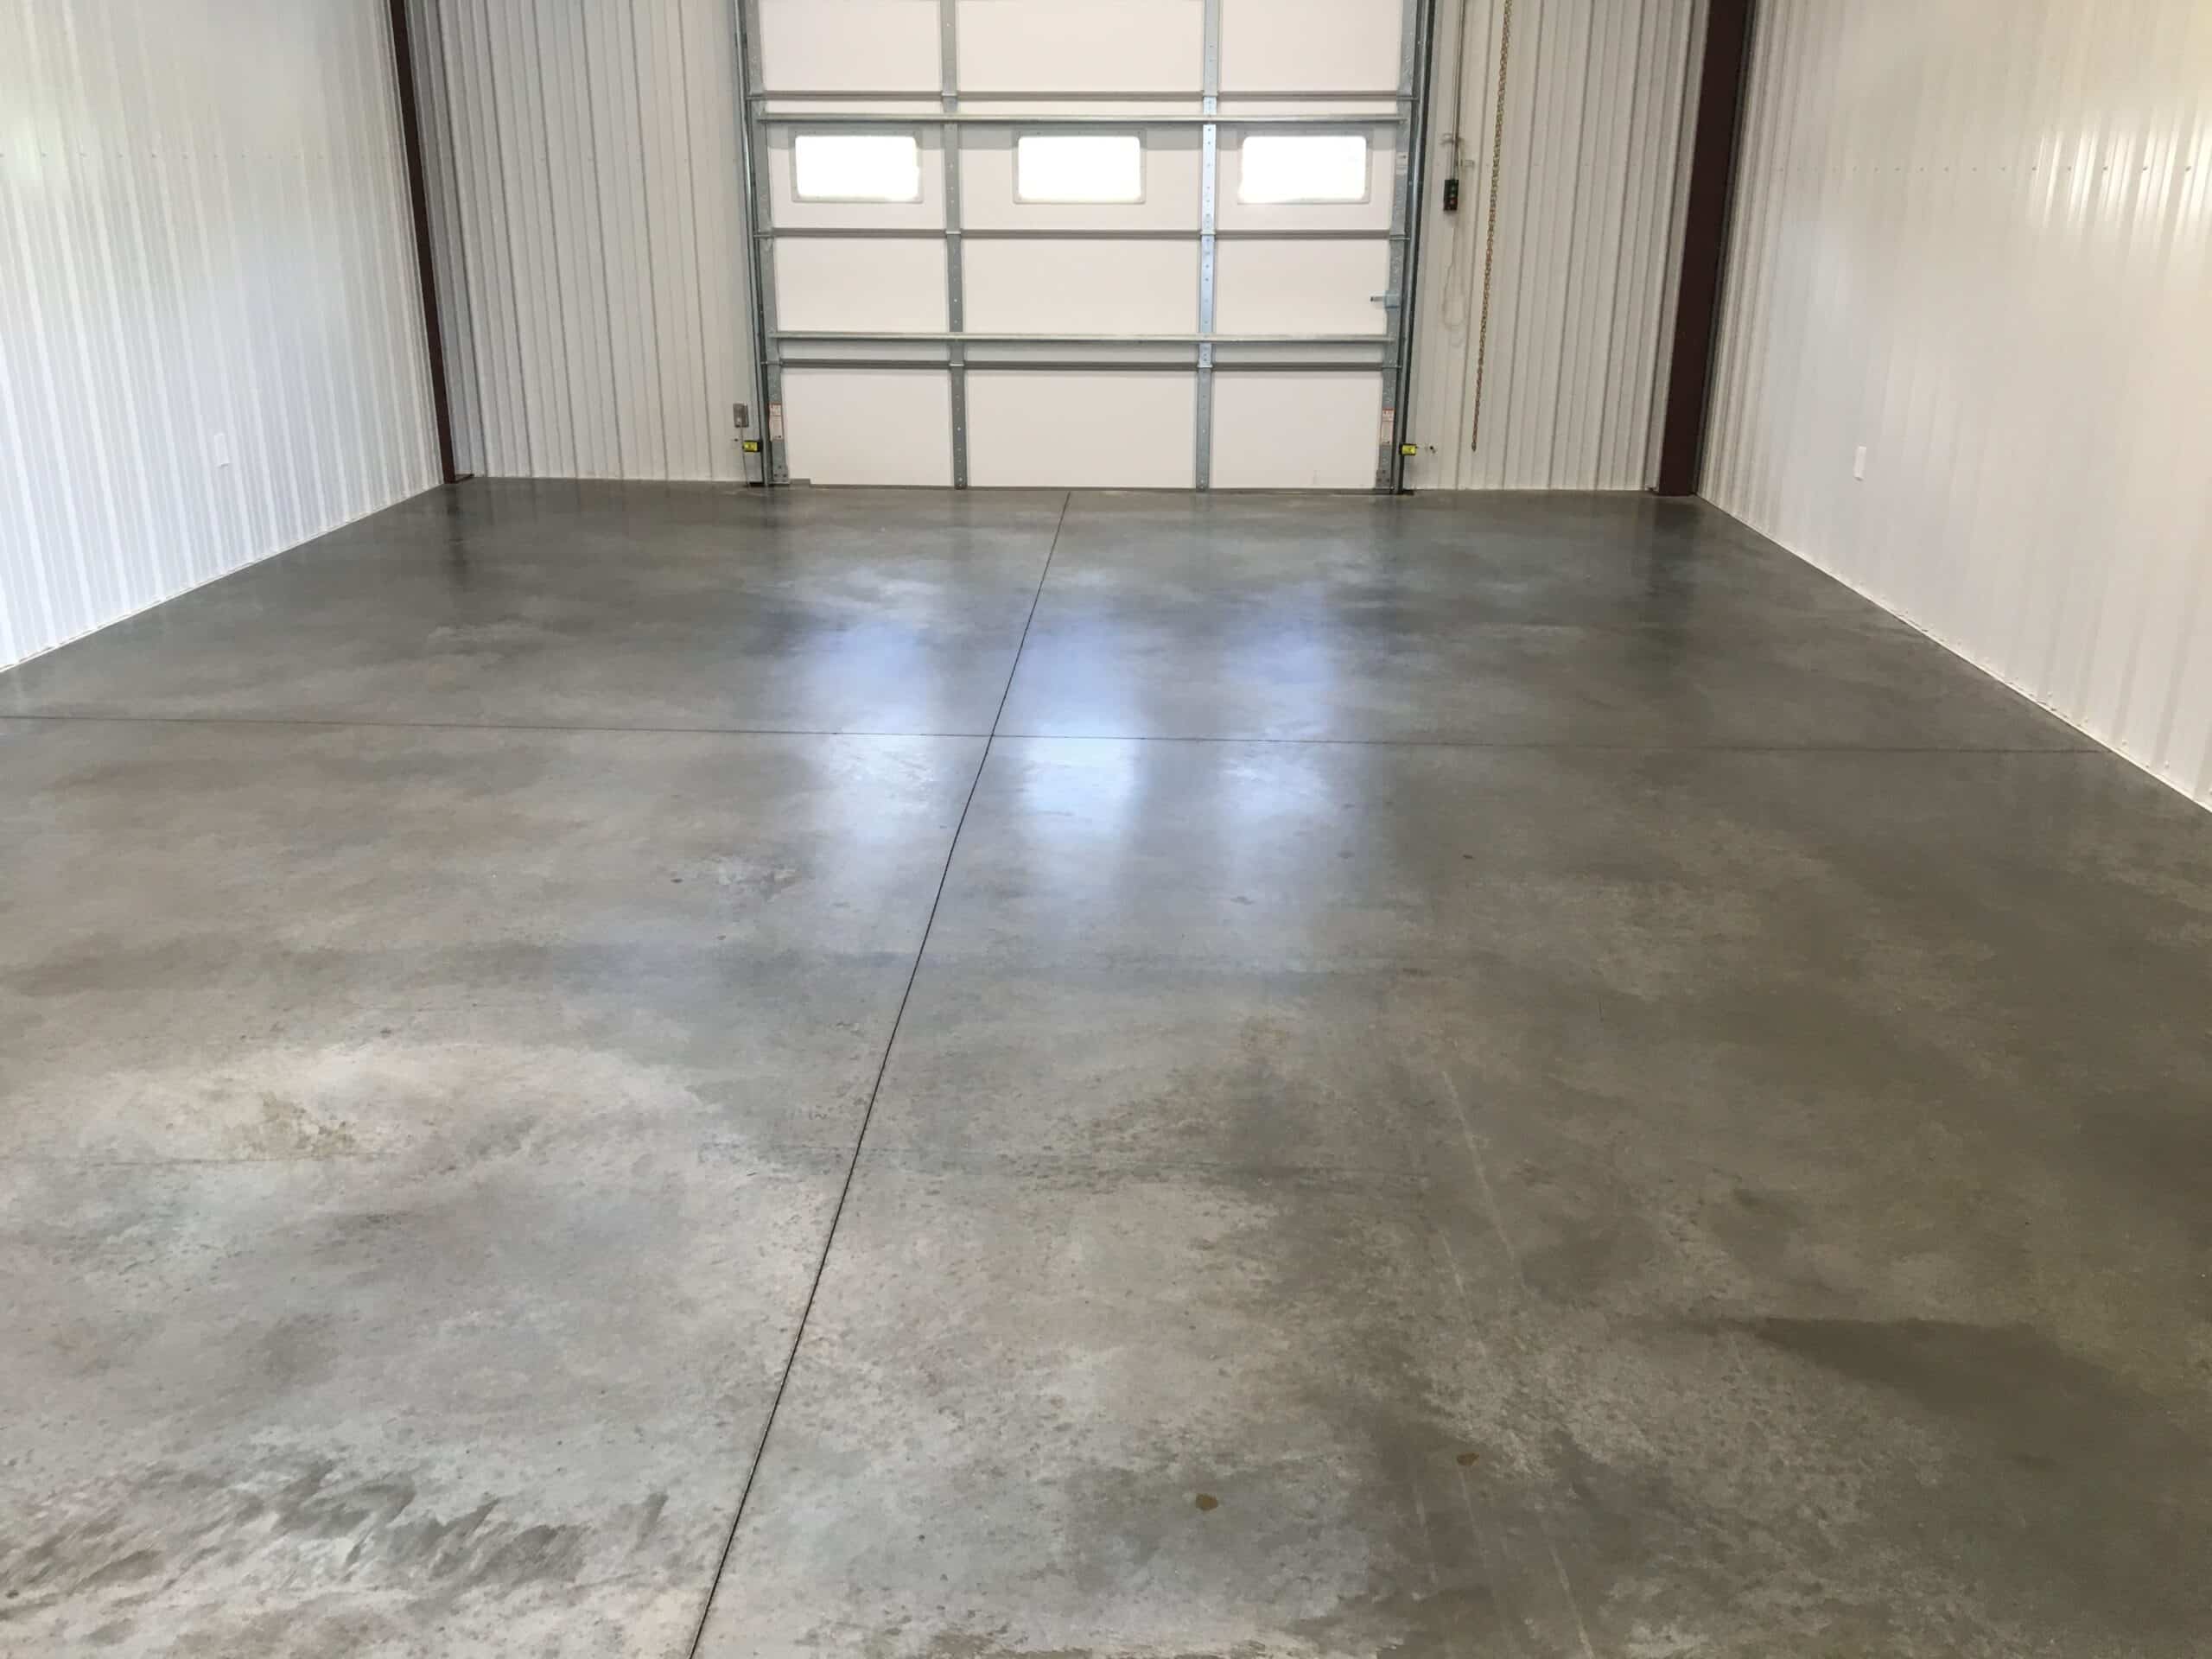
Within the recoat window, apply the second coat of Epoxy Flow 100. This layer ensures a more uniform color on your floor.Step 4: Curing and Aftercare:
- Allow the epoxy to cure completely according to the product specifications (typically 24-48 hours for light traffic). Avoid using or walking on the floor during this time.
- Once cured, your epoxy floor is ready to enjoy! Clean regularly with a damp mop and non-abrasive cleaning products (wait 7 days to clean with water).
Troubleshooting Tips:
-
Uneven Application:
Apply the product in one continuous motion keeping a wet edge. Avoid hard starts and stops. -
Bubbles:
Sand and touch up any bubbles after the coating cures to a tack-free state. Having some bubbles in your first coat of epoxy is sometimes typical and can be from the concrete breathing. - Additional Resources: Concrete Floor Supply offers product data sheets for each component of this process. These resources provide detailed information on mixing ratios, application techniques, and safety precautions. We also have product videos for our products.